Last updated on February 22nd, 2026 at 09:44 pm
A Balanced Sheet Pan Dinner with Controlled Caramelization
Honey Garlic Chicken Thighs on a Sheet Pan is built for cooks who want bold flavor without constant stovetop attention. The oven does the heavy lifting, but the structure of the method ensures control over texture, browning, and glaze development. The goal is not just sweet chicken. It’s properly roasted chicken with a layered honey garlic glaze that caramelizes at the right moment, stays glossy, and doesn’t scorch.
This is a recipe about timing and balance. Honey provides sweetness and helps build color. Soy sauce adds salt and depth. Garlic gives warmth and sharpness. Vinegar keeps the glaze from tasting flat. When handled properly, the result is a sticky, savory finish that clings to the chicken without burning.

Why Chicken Thighs Are the Right Choice
Chicken thighs are ideal for sheet pan roasting because they are naturally forgiving. Their higher fat content helps protect against overcooking, especially when exposed to high heat. That matters when honey is involved. Sugar needs heat to caramelize, but too much heat too soon can dry out lean cuts like chicken breast.
Thighs also absorb flavor more effectively. As they roast, rendered fat mixes with the glaze, creating a deeper coating that feels rich but not heavy. Whether you choose bone-in, skin-on thighs or boneless, skinless pieces, the result is consistently juicy.
If you enjoy oven-based chicken dinners with crisp, savory crust instead of glaze, you might also like this Parmesan Crusted Chicken Sheet Pan Dinner, which focuses on texture contrast rather than sticky caramelization. And if you’re in the mood for something creamy and pasta-based, Garlic Butter Chicken Alfredo Shells offer a completely different flavor direction while staying comforting and satisfying.
How the Honey Garlic Glaze Stays Balanced
The biggest mistake with honey-based sheet pan recipes is applying the glaze too early. Honey burns quickly at high temperatures. Instead of coating everything at the beginning, this recipe uses a two-stage glaze method.
First, the chicken roasts partially without full sauce coverage. This allows fat to render and the surface to dry slightly. Then the honey garlic mixture is brushed on in layers. As the chicken finishes cooking, the glaze thickens gradually rather than scorching.
Soy sauce controls sweetness. Apple cider vinegar prevents the glaze from tasting sugary. Sesame oil adds subtle depth without overpowering the dish.
The finished glaze should be glossy and lightly sticky—not thick like candy or dry and crusted.
Ingredients
2 pounds chicken thighs (bone-in, skin-on or boneless, skinless)
1 teaspoon kosher salt
½ teaspoon black pepper
2 tablespoons olive oil
For the glaze:
⅓ cup honey
¼ cup soy sauce
4 garlic cloves, finely minced
1 tablespoon apple cider vinegar
1 teaspoon sesame oil
½ teaspoon crushed red pepper flakes (optional)
2 green onions, sliced (optional garnish)
Step-by-Step Instructions
1. Preheat and Prepare
Preheat oven to 425°F. This temperature encourages caramelization without extended cook time. Line a rimmed sheet pan with parchment paper or foil for easier cleanup.
2. Dry and Season the Chicken
Pat the chicken completely dry. Removing surface moisture helps the glaze adhere and improves browning. Season both sides evenly with salt and pepper.
Arrange thighs on the sheet pan with space between each piece. Crowding traps steam and reduces browning.
Drizzle lightly with olive oil and rub gently to coat.
3. Mix the Honey Garlic Glaze
In a small bowl, whisk together honey, soy sauce, garlic, vinegar, sesame oil, and red pepper flakes if using. The mixture should look smooth and slightly thin. It will thicken in the oven.
4. First Roast Phase
Brush about half of the glaze lightly over the chicken. Reserve the rest.
Roast for 20 minutes. During this time, fat renders and the surface begins to develop light color.
5. Second Glaze Layer
Remove the pan from the oven and brush generously with the remaining glaze. Some of it will drip onto the parchment—that’s normal.
Return to the oven and roast an additional 12–15 minutes, until the internal temperature reaches 165°F and the glaze deepens in color.
6. Optional Broil Finish
If you want deeper caramelization, switch to broil for 2–3 minutes. Watch closely. Honey can move from glossy to burnt quickly.
7. Rest Before Serving
Let the chicken rest 5 minutes before serving. This helps juices redistribute and allows the glaze to settle.
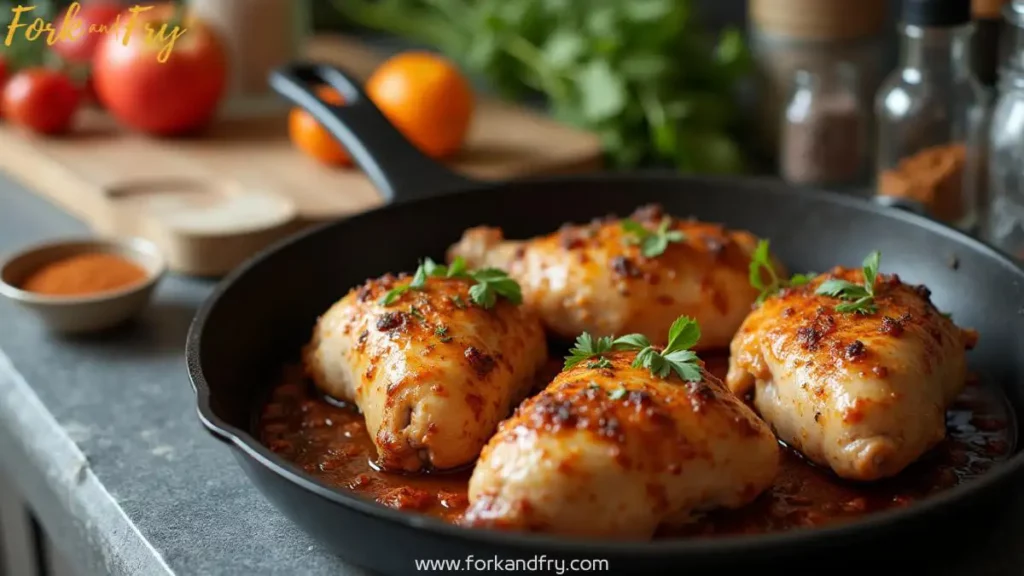
What the Finished Chicken Should Look Like
The exterior should be lightly crisp where the glaze caramelized. The surface should appear glossy and slightly sticky, not dry. The meat inside should remain tender and juicy.
You may notice sauce pooling slightly on the parchment. That concentrated glaze can be spooned over the chicken before serving.
Timing Adjustments
• Boneless thighs cook about 5 minutes faster than bone-in.
• Larger thighs may need closer to 40 total minutes.
• Always check doneness with a thermometer.
High heat works well here because thighs tolerate it. If using skin-on pieces, keep them skin-side up to allow fat to render and crisp the surface.
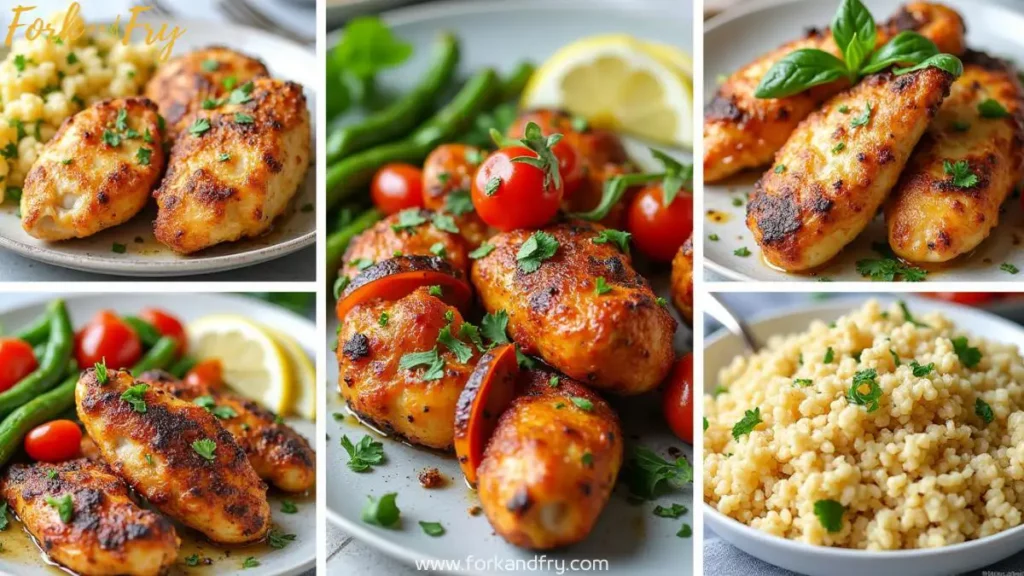
Adding Vegetables to the Sheet Pan
Yes, vegetables can cook alongside the chicken. Broccoli, carrots, or green beans work well. Toss vegetables in oil and season separately before placing them around the chicken. Avoid coating vegetables heavily in honey glaze early—they can burn.
For starch options, roasted potatoes or rice served on the side absorb extra sauce beautifully.

Flavor Variations
Add grated ginger for extra depth.
Use lime juice instead of vinegar for brightness.
Add chili garlic sauce for heat.
Sprinkle toasted sesame seeds before serving.
Storage and Meal Prep
Store leftovers in an airtight container for up to 4 days. The glaze thickens when chilled but softens when reheated gently.
Reheat in the oven at 325°F until warmed through. Avoid high heat during reheating to prevent glaze from drying.
For meal prep, portion chicken separately from sides to maintain texture.
Frequently Asked Questions
Can I use boneless chicken thighs instead of bone-in?
Yes, boneless chicken thighs work well and cook slightly faster. Reduce total cooking time by about 5 minutes and check for doneness early to avoid overcooking.
Does the glaze become too sweet after baking?
No. The soy sauce, garlic, and vinegar balance the honey, creating a savory-sweet glaze rather than a sugary coating. Applying the sauce in stages also keeps the flavor controlled.
Can vegetables be cooked on the same sheet pan?
Yes, vegetables such as broccoli, carrots, or green beans can be added around the chicken. Toss them lightly in oil and season separately so they roast evenly.
Is this recipe suitable for meal prep?
Yes. The chicken reheats well and keeps its flavor. Store sauce-coated pieces separately from sides for best texture.

Honey Garlic Chicken Thighs on a Sheet Pan
Equipment
- Rimmed sheet pan
- Parchment paper or foil
- Small mixing bowl
- Whisk
- Pastry Brush
- Measuring Cups and Spoons
- Instant-read thermometer
Ingredients
For the Chicken
- 2 lb chicken thighs bone-in, skin-on or boneless, skinless
- 1 tsp kosher salt
- 1/2 tsp black pepper
- 2 tbsp olive oil
For the Honey Garlic Glaze
- 1/3 cup honey
- 1/4 cup soy sauce
- 4 cloves garlic finely minced
- 1 tbsp apple cider vinegar
- 1 tsp sesame oil
- 1/2 tsp crushed red pepper flakes optional
Optional Garnish
- 2 green onions sliced
Instructions
- Preheat oven to 425°F. Line a rimmed sheet pan with parchment paper or foil.
- Pat chicken thighs dry and season evenly with kosher salt and black pepper.
- Arrange thighs on the sheet pan with space between each piece. Drizzle with olive oil and rub lightly to coat.
- Whisk together honey, soy sauce, minced garlic, apple cider vinegar, sesame oil, and red pepper flakes (if using).
- Brush about half of the glaze over the chicken, reserving the remaining sauce for later.
- Roast for 20 minutes.
- Remove pan from oven and brush chicken generously with the remaining glaze.
- Return to oven and roast 12–15 minutes more, or until chicken reaches 165°F internally and glaze is caramelized.
- Optional: Broil for 2–3 minutes for deeper color, watching closely to prevent burning.
- Rest 5 minutes. Garnish with sliced green onions before serving, if desired.
Notes
Enjoyed this recipe? Leave a review!
There are no reviews yet. Be the first one to write one.